


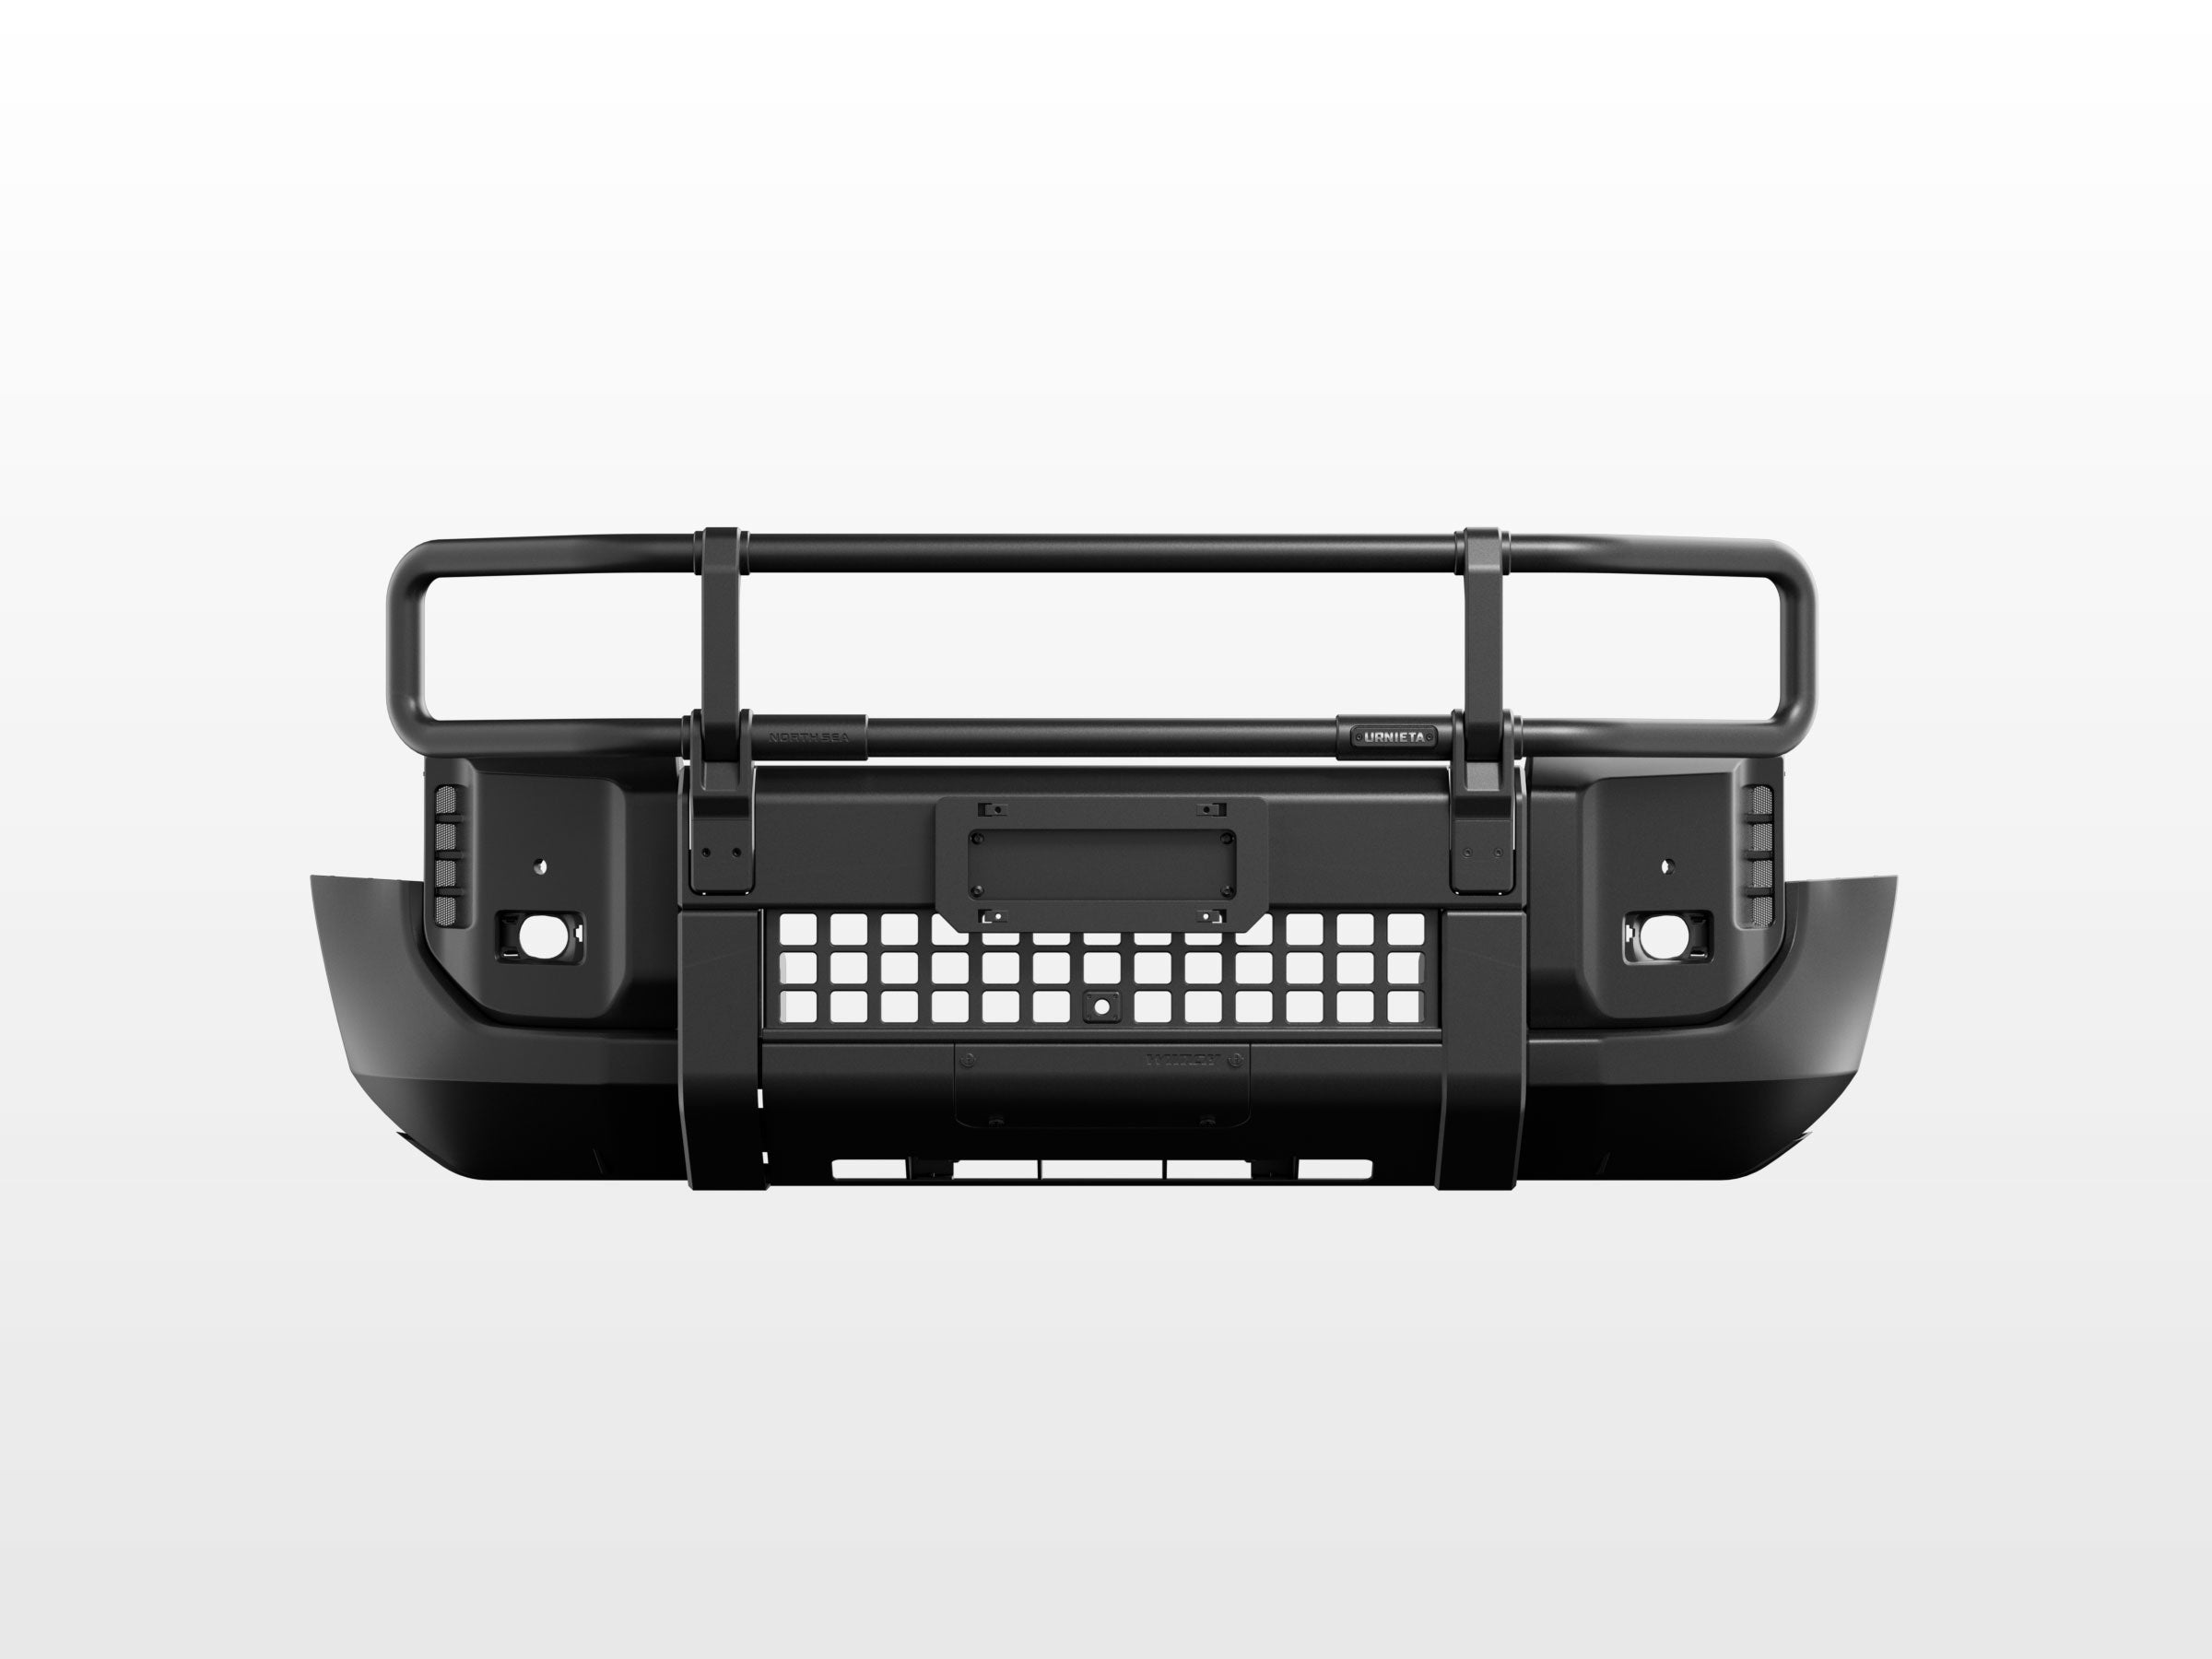
Front Bullbar
250 Series LandCruiser Prado
Your LC250 Prado's factory front end wasn't built for the terrain you're taking it to. The URNIETA bullbar bolts to the factory chassis points and adds real protection, formed from aluminium-magnesium alloy and SUS430 stainless steel to handle the toughest conditions.
Item code: URNIETA001
In high demand. We're working through a backlog of orders on this range, so this item may dispatch one to two weeks later than usual.
12-Month Australian Warranty.Backed by PVS Automotive, Sydney based support. Tax Deductible for Business. GST claimable if you are registered.Often fully deductible as a business expense. Check with your accountant. Australian Owned and Operated.Australian Owned Certified · AO 08314


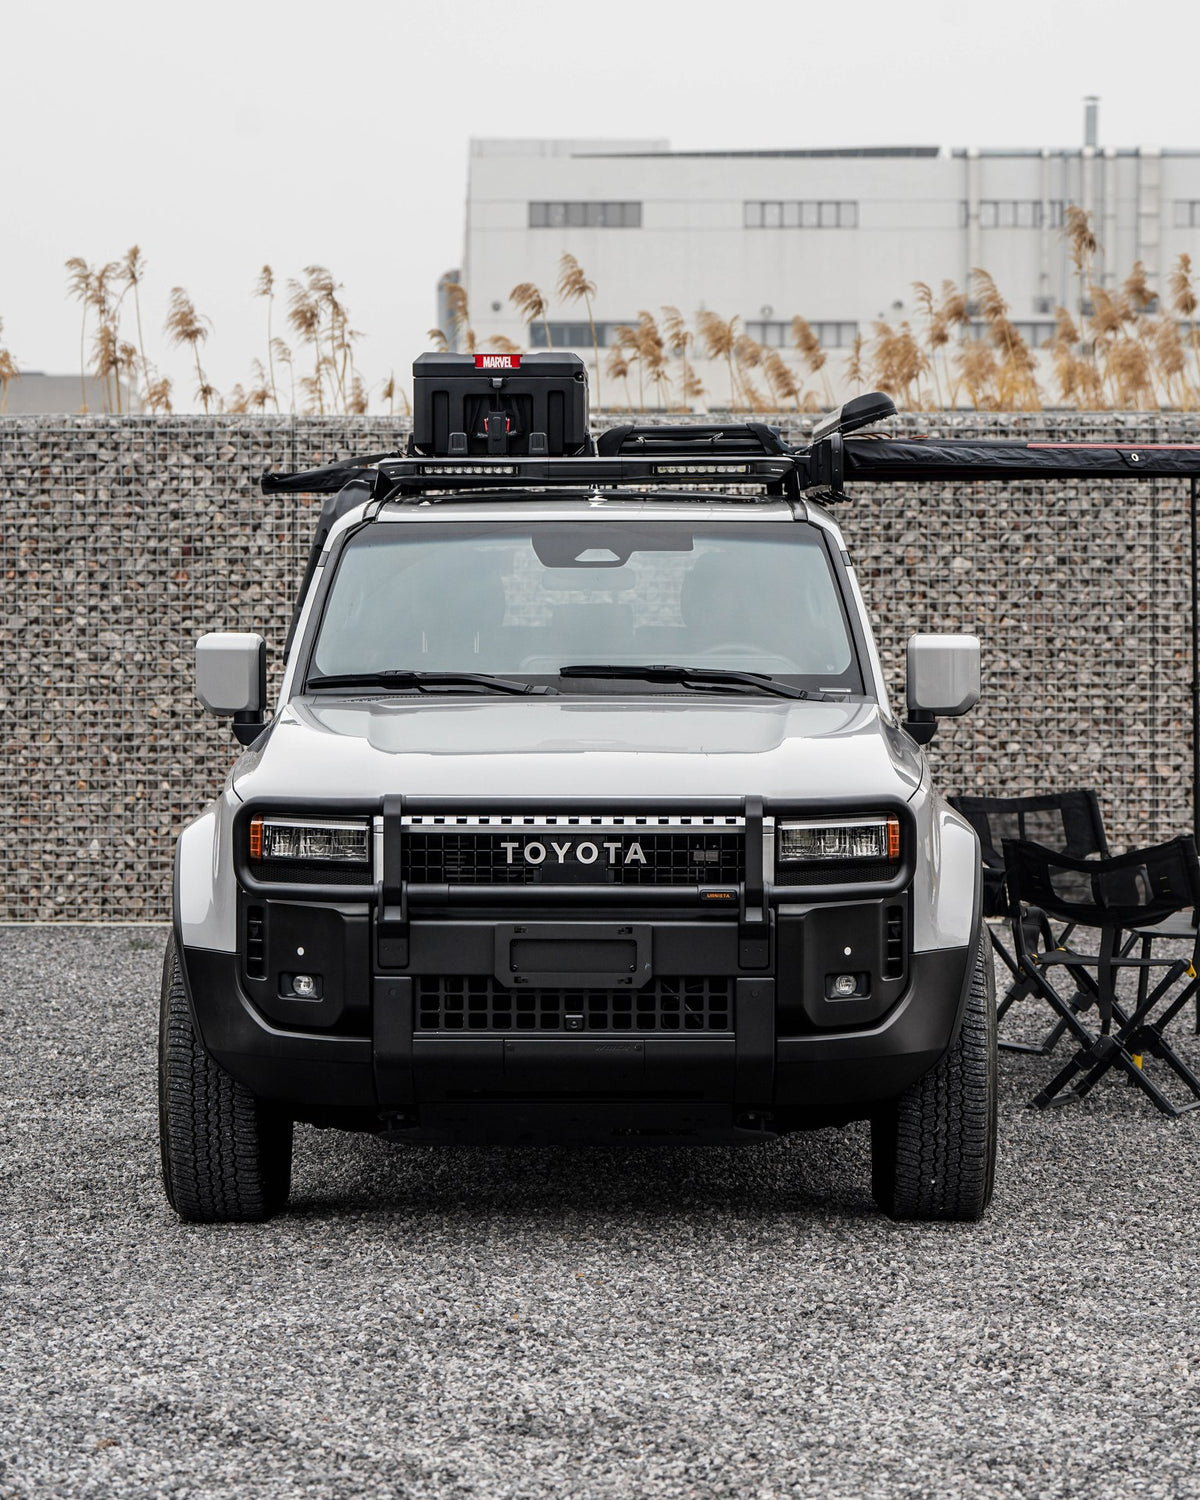
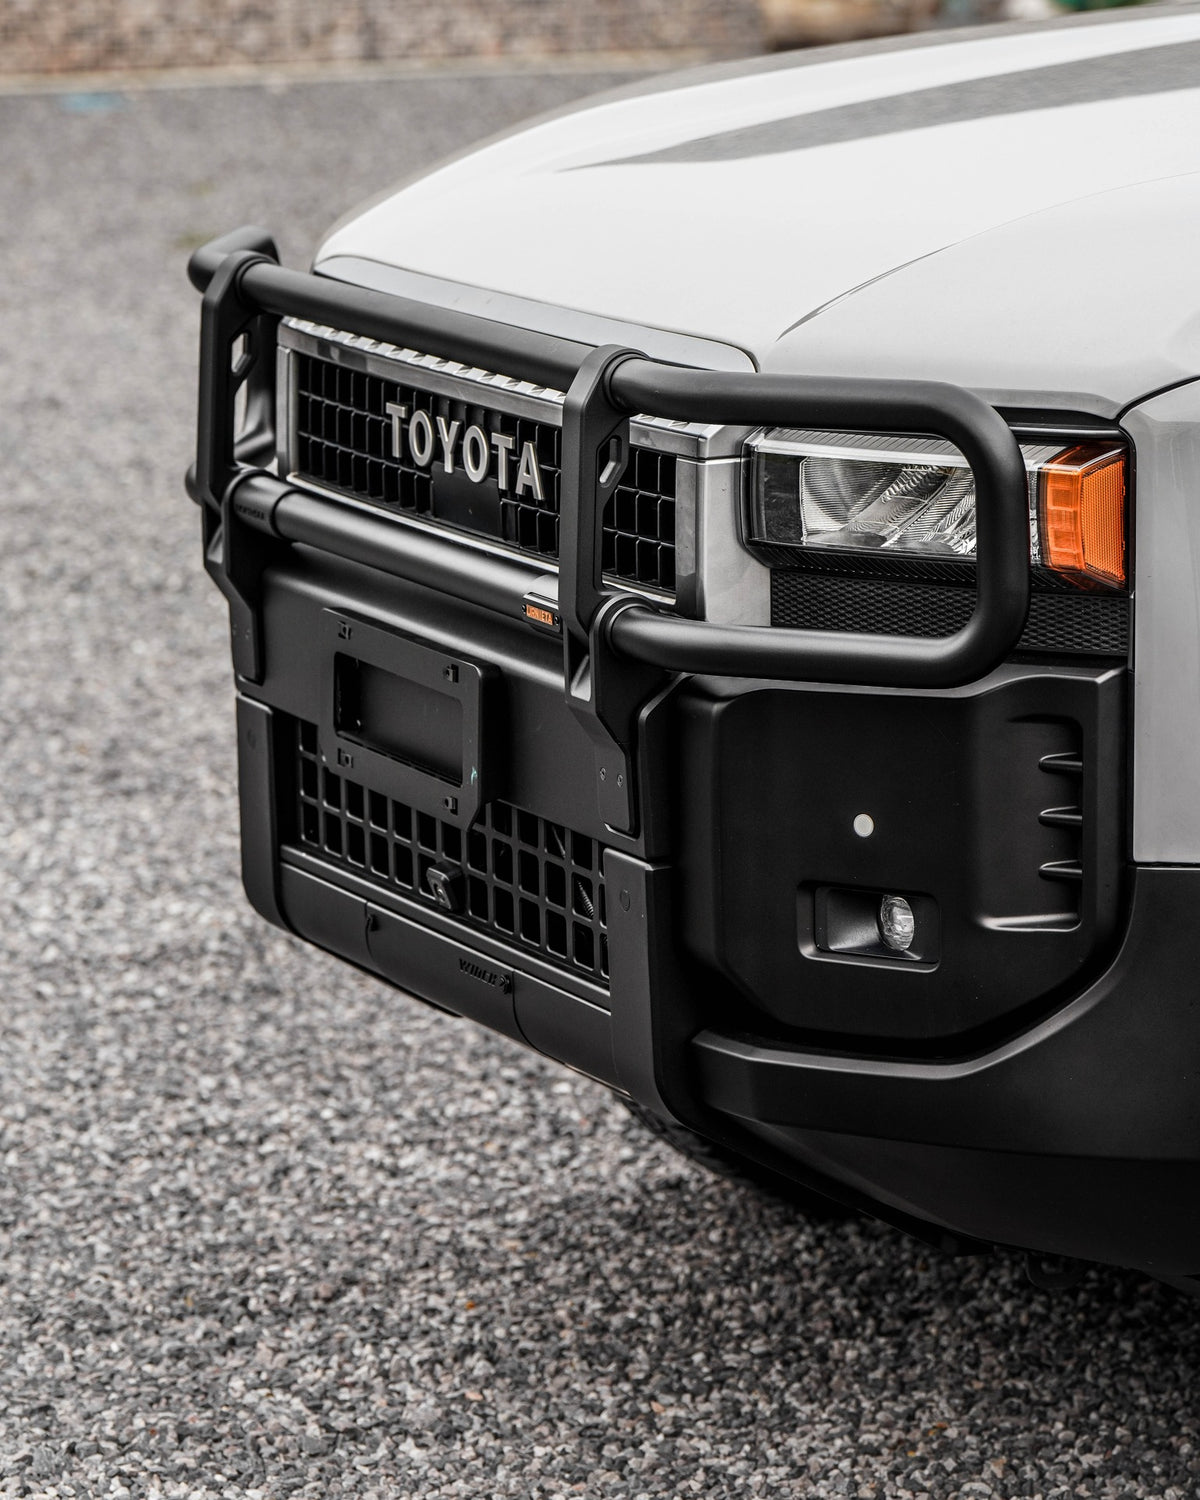
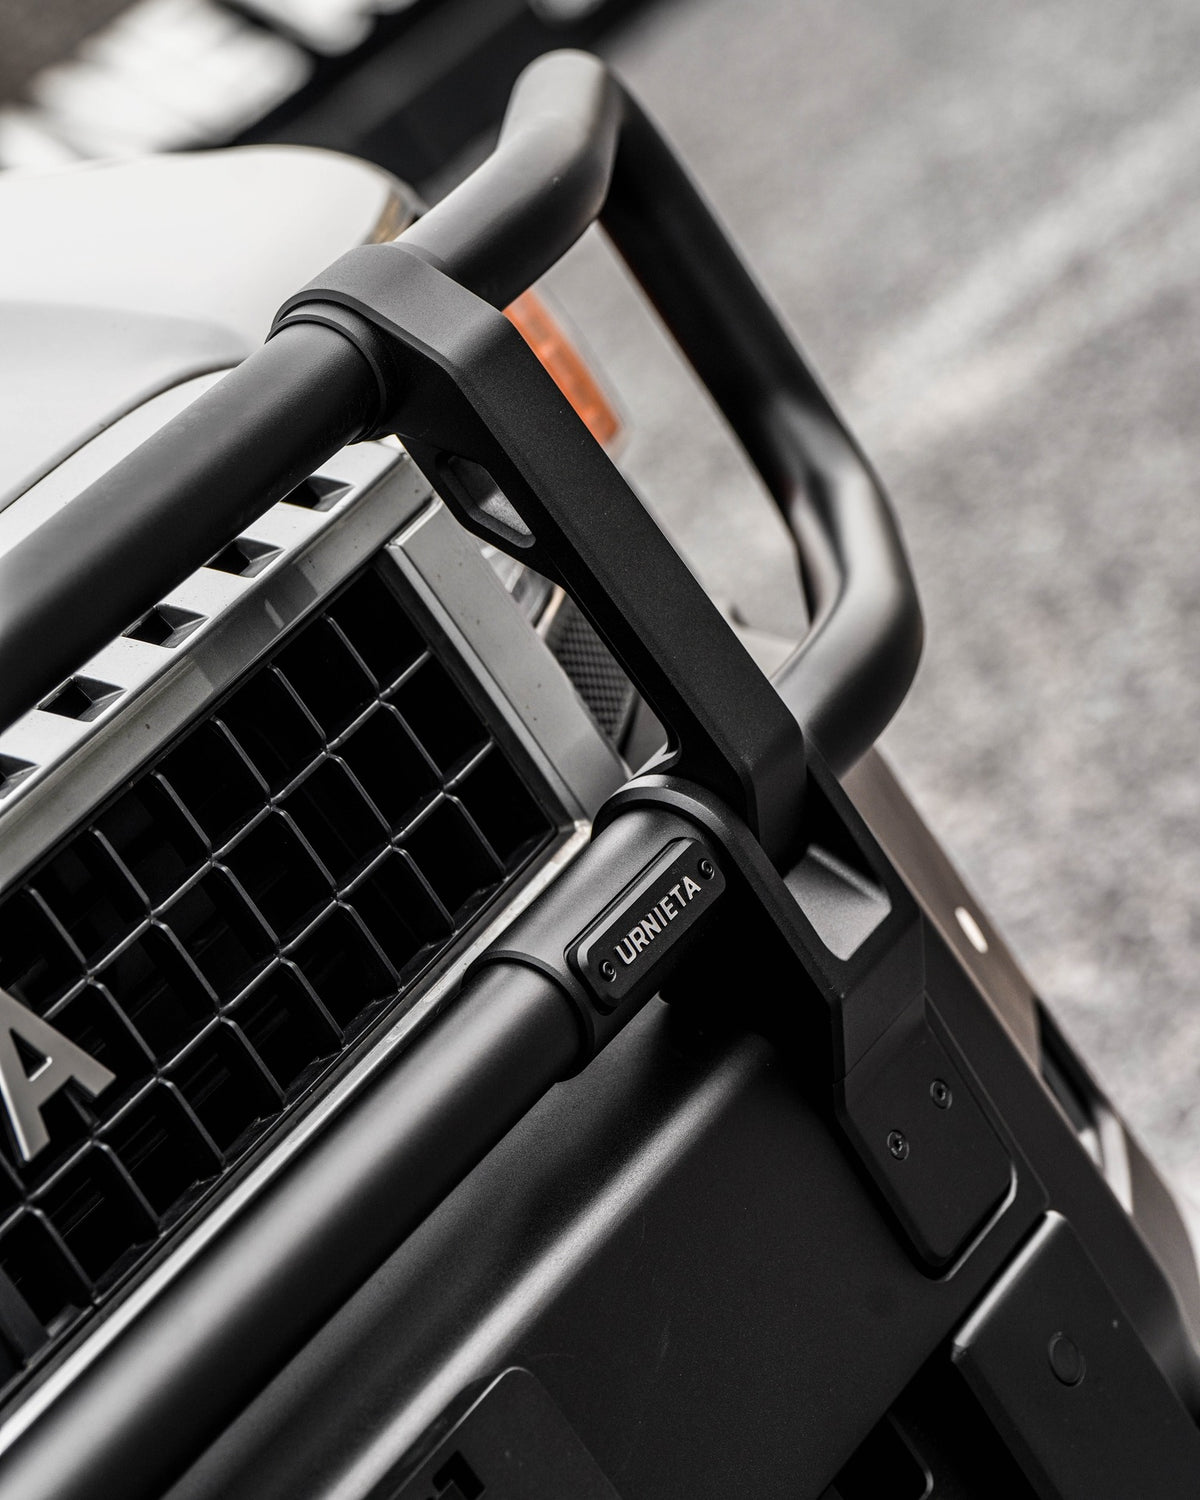
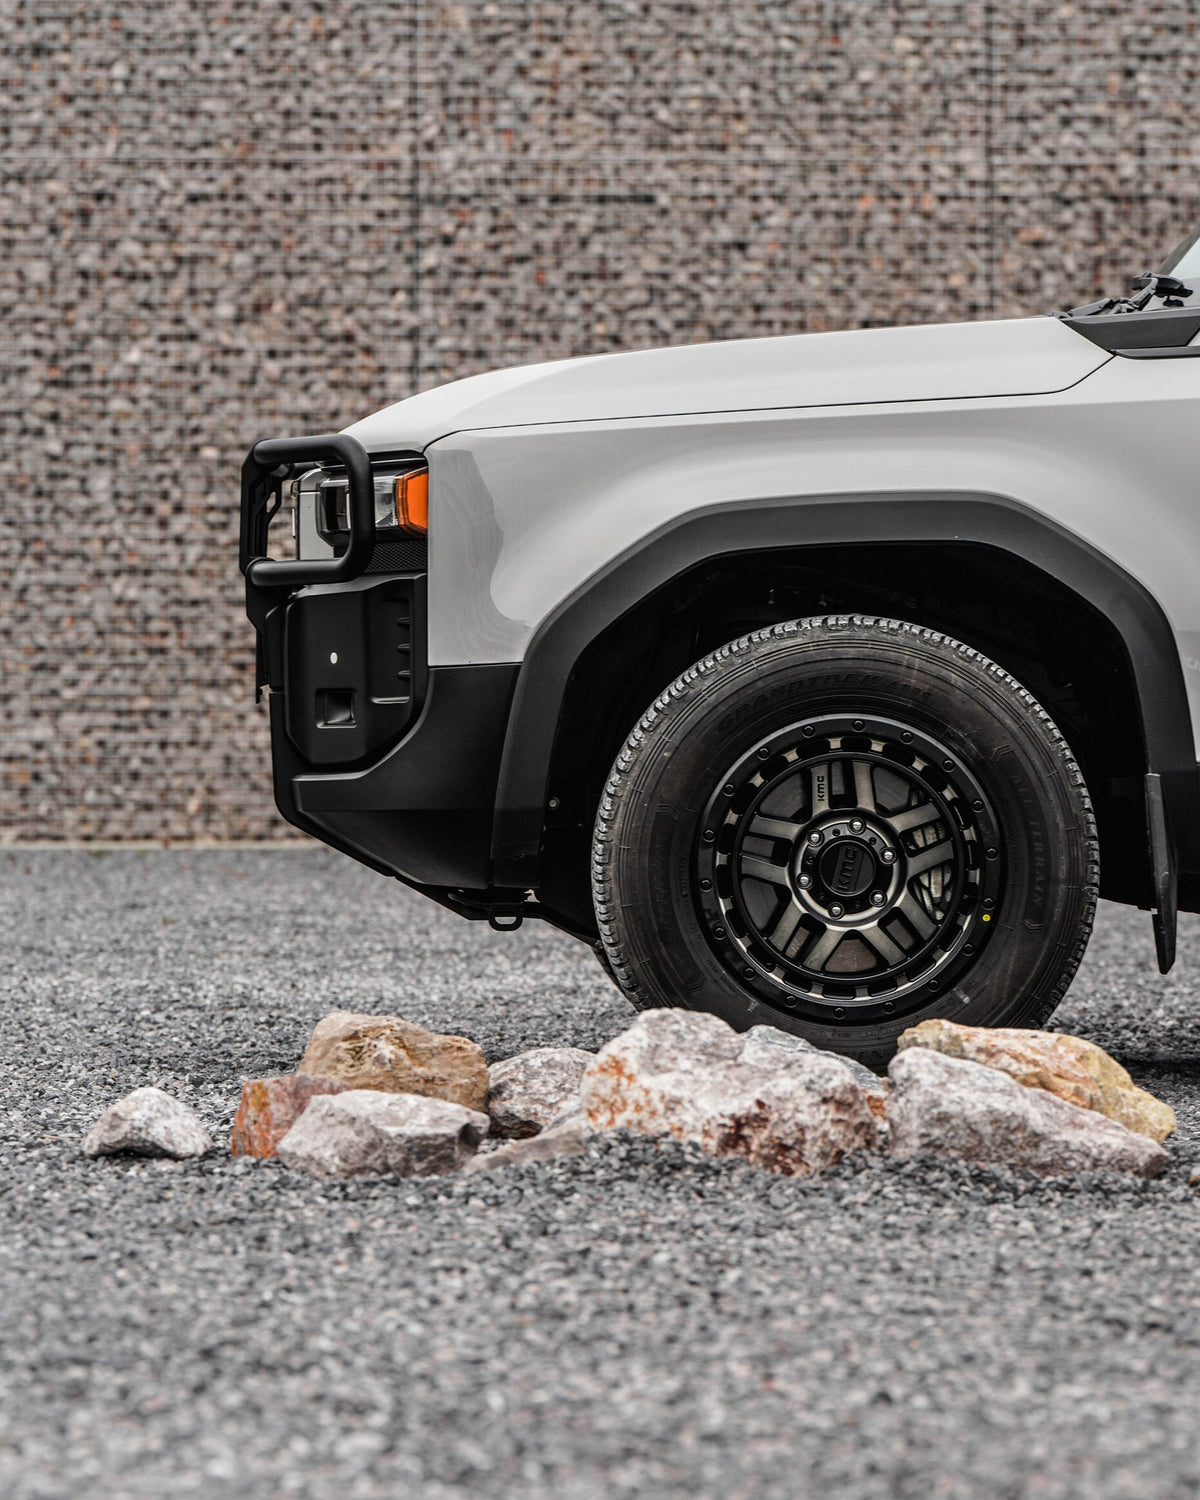
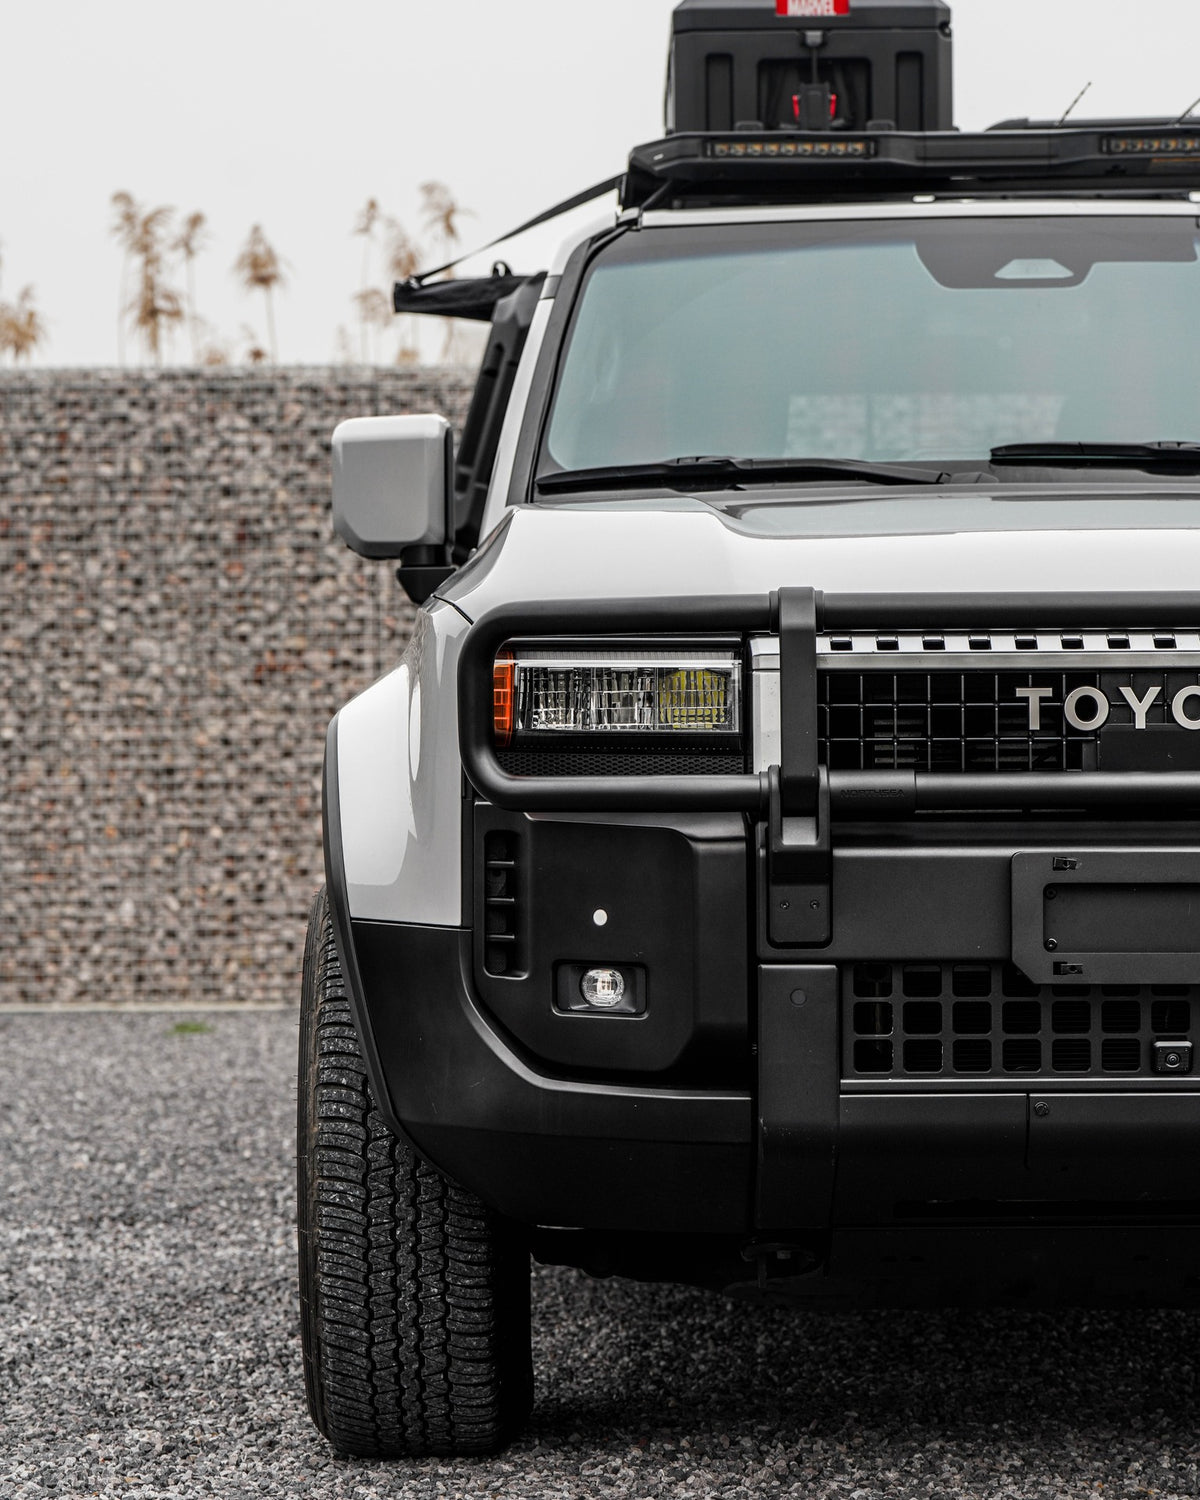
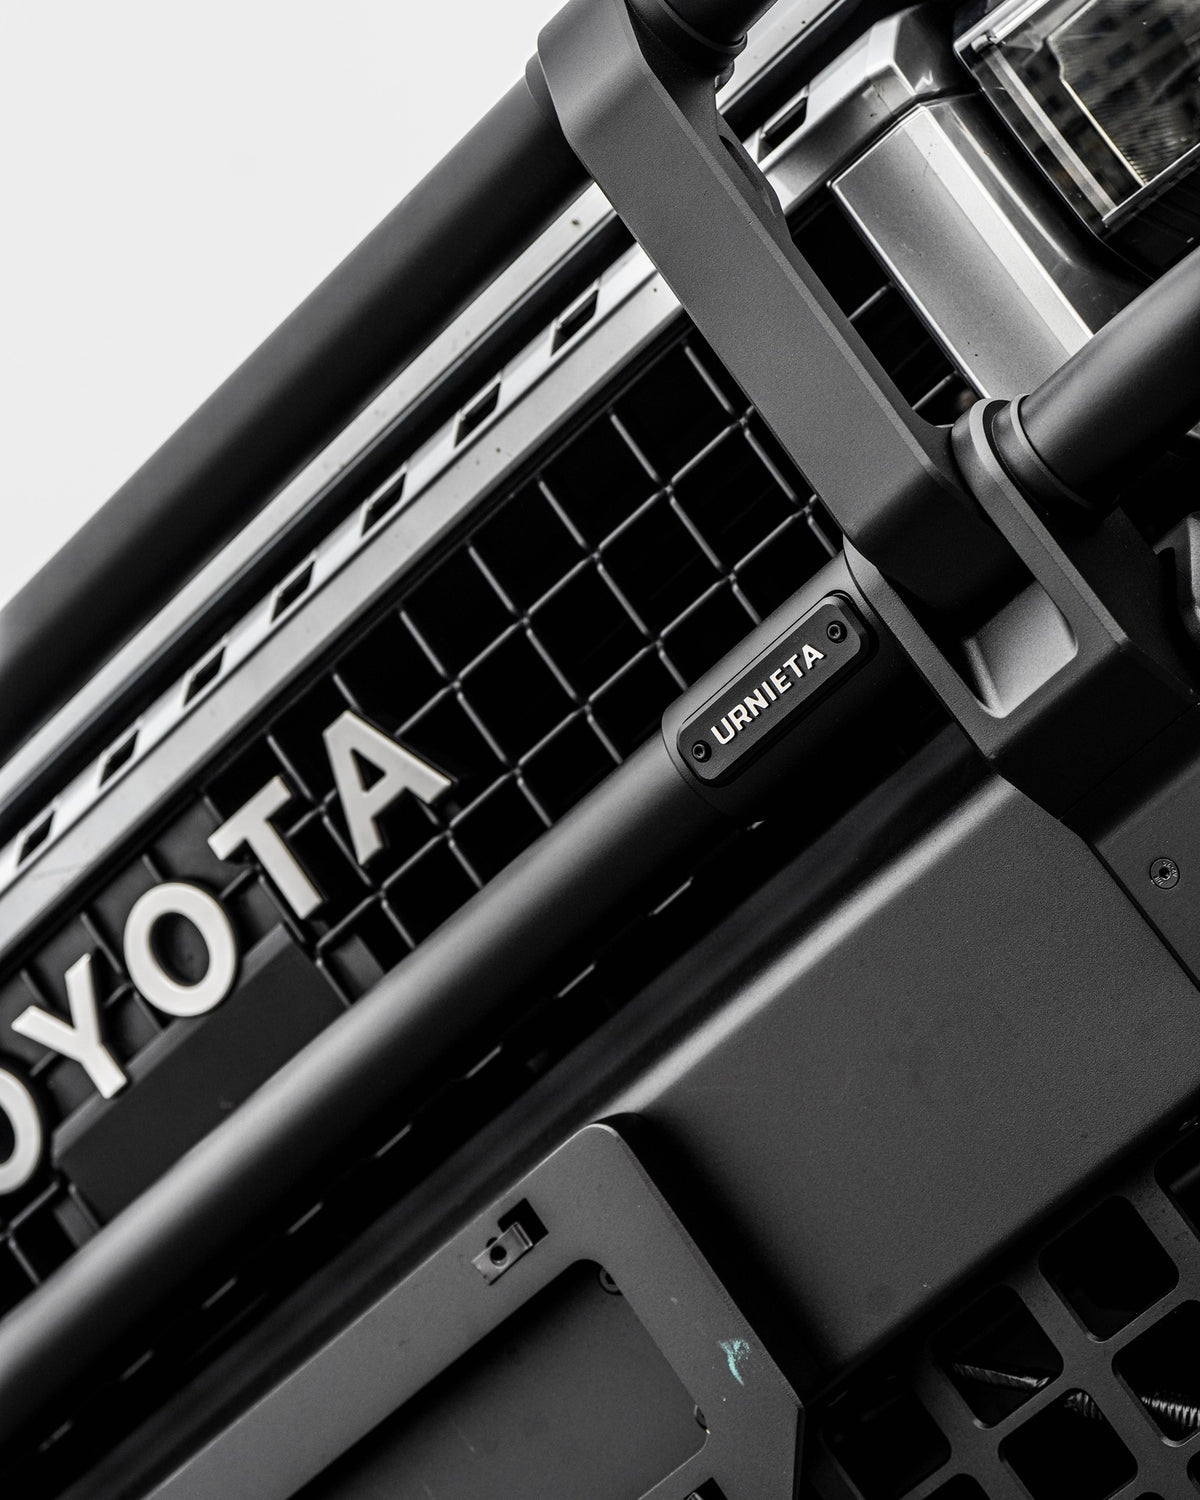
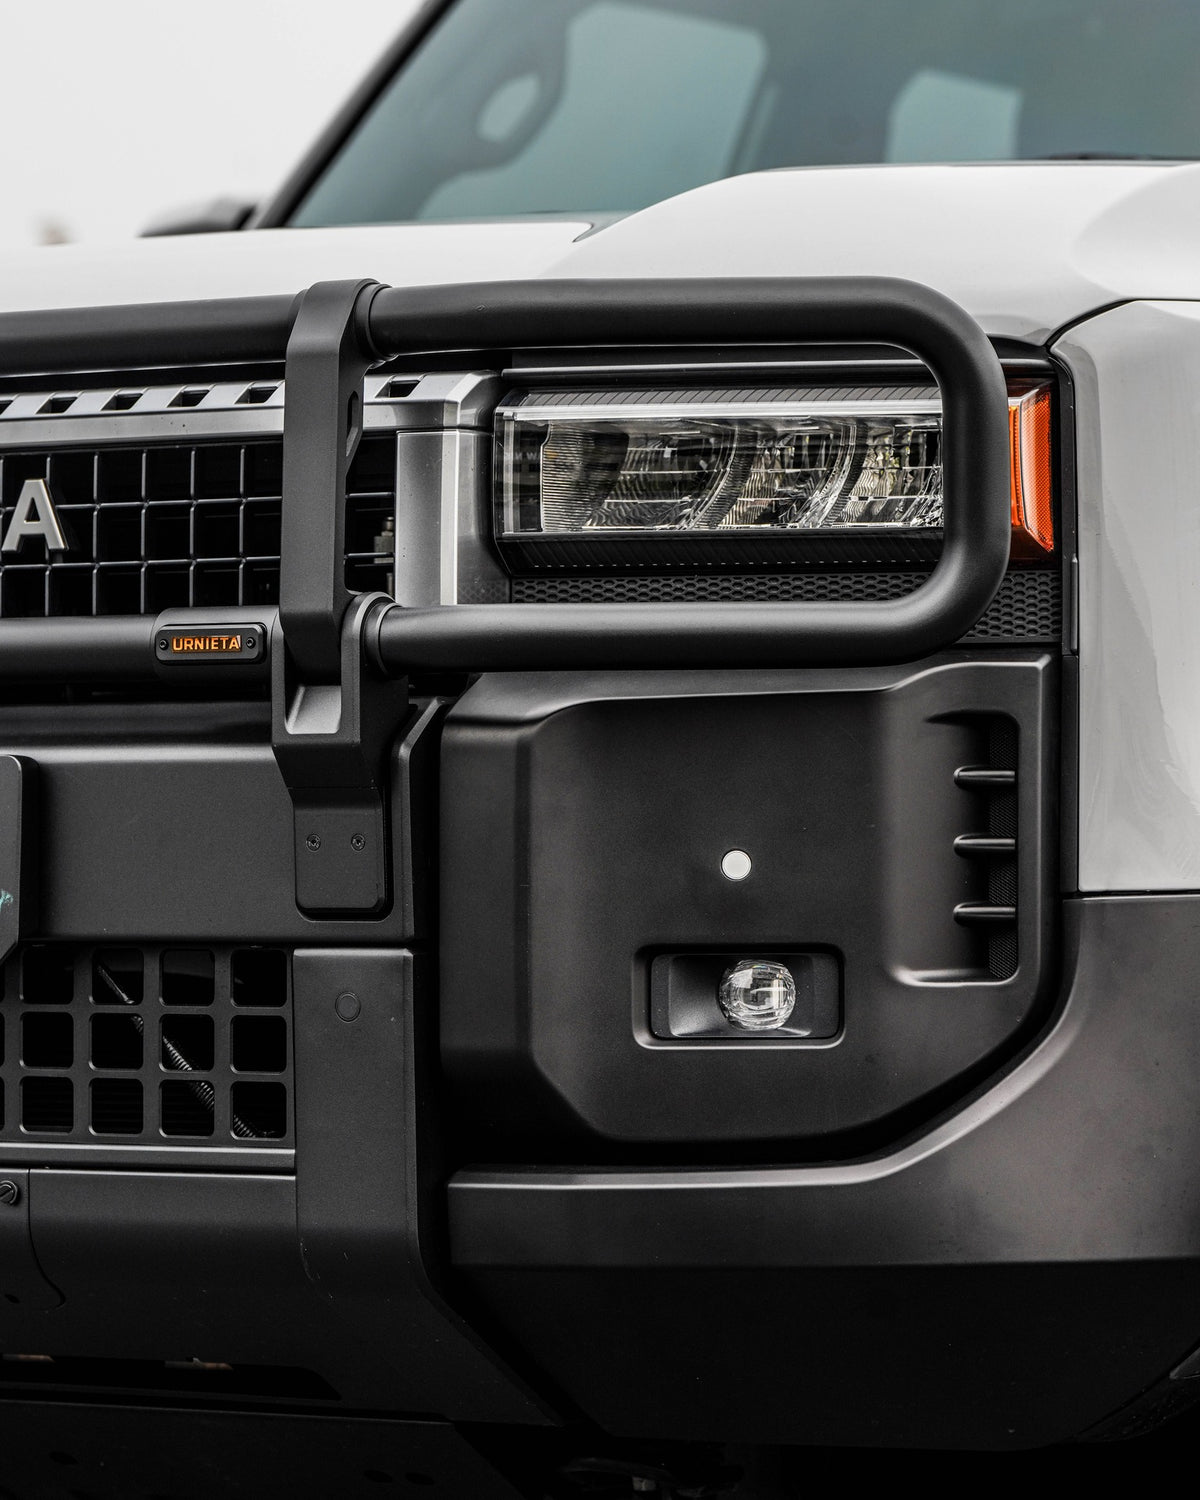
Built around the Prado's design.
The factory 250 Series front bumper is a thermoplastic shell built around pedestrian-impact rules. The URNIETA bar replaces it, with cutlines around the headlights and grille drawn from the factory body shape.
It's built from aluminium-magnesium alloy and SUS430 stainless steel in matte black. The mounting brackets pick up the 250 Series chassis frame, and the factory radar, front camera and fog lamps move onto the supplied transfer brackets. It's ADR compliant.
Pair it with the matching URNIETA NS forged wheels and 250 Series side steps.
Engineered for the 250 Series platform.
FACTORY LINE CUT
The cutout profile around the headlights and grille mirrors the factory front end geometry, keeping the Prado's design rather than masking it.
WINCH AND RECOVERY
An integrated winch cradle and two D-ring recovery mounts that bolt to the chassis frame, with a lower skid plate and recessed light pods.
CHASSIS-POINT MOUNTING
The mounting brackets use the factory 250 Series chassis points.
Vehicle fitment.
Installation overview.
REMOVE FACTORY BUMPER
Remove the factory front bumper, internal trim brackets, anti-collision beam, side bar brackets and centre grille.
FIT MOUNTING HARDWARE
Fit the winch reinforcement brackets with M12 hardware at 110 N·m, then the bull bar, grille, side and connection brackets, riveting where shown.
TRANSFER ELECTRONICS
Move the factory radar, front camera, fog lamps and wiring onto the new brackets, fit the outer corners, fenders and metal grille, then set the LH and RH clearances.
SECURE AND REASSEMBLE
Tighten the metal grille and bull bar hardware to spec and refit the original lining with the factory clips and screws.
Spec it
your way.
Not sure which setup suits your build? Get fitment advice, install guides, or talk to the PVS team before you buy. We are Sydney based and here to help.
